As power outages become more frequent and unpredictable, many homeowners are opting for backup generators to ensure their homes stay powered during emergencies. However, installing a generator involves more than just plugging it in and turning it on. Properly wiring your home for a generator is crucial for both safety and efficiency.
This article provides a comprehensive guide on how to wire your home for a generator, with a focus on best practices, safety, and the steps involved in the installation process.
Understanding the Basics
Before diving into the technical aspects, it’s important to understand the two main types of generators used for home power backup:
Portable Generators – These are typically smaller, mobile units that can be moved around and connected to your home manually when needed.
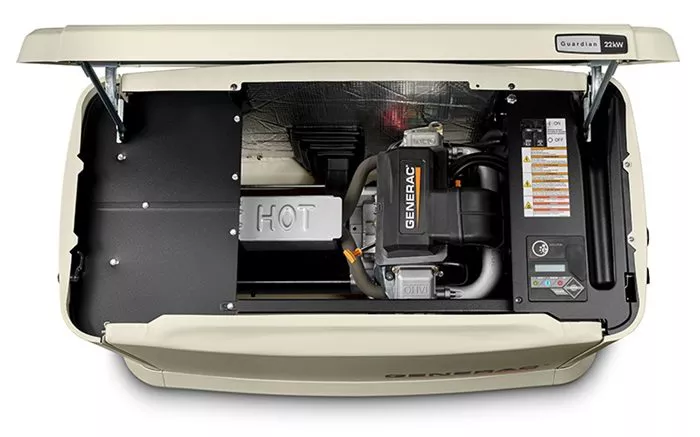
Standby Generators – These are permanently installed systems that automatically kick in when the power goes out. They’re connected to your home’s electrical panel and can provide power to the entire home or specific circuits.
For the purpose of this article, we will focus on wiring a portable generator to your home, though some concepts are applicable to standby generators as well.
Materials You’ll Need
To wire your home for a portable generator, you’ll need several materials, including:
- Transfer switch (manual or automatic, depending on your preference)
- Generator cord (suitable for the amperage rating of your generator)
- Interlock kit (for manual transfer switches, if not built into the switch)
- Outlet box (for connecting the generator cord to your home)
- Electrical panel (for the proper connections to the generator)
- Conduit and wiring (if needed for specific installations)
- Circuit breakers (to protect your circuits from overloads)
Step 1: Choosing the Right Transfer Switch
The most critical component in safely wiring your home for a generator is the transfer switch. A transfer switch prevents power from flowing back into the utility lines, which could harm utility workers or damage your equipment. It also ensures that your generator only powers selected circuits in your home, avoiding overloading the system.
There are two main types of transfer switches:
Manual Transfer Switch – This requires you to manually switch between utility power and generator power.
Automatic Transfer Switch – This type automatically detects a power outage and switches to the generator without requiring user intervention.
Choosing the right transfer switch depends on your needs and budget. Manual switches are less expensive but require more effort, while automatic switches are more convenient and safer but cost more.
Step 2: Installing the Transfer Switch
Installing a transfer switch involves wiring it to your electrical panel and then connecting it to the generator outlet. It’s important to follow the manufacturer’s instructions carefully to ensure proper installation. For most installations, you’ll be working with 240-volt circuits, so it’s crucial to adhere to the electrical code and ensure that all components are compatible.
Here are the general steps for installation:
Turn off the main power to your home before beginning the installation.
Mount the transfer switch near your electrical panel, ensuring it’s easily accessible.
Connect the transfer switch to the panel using the appropriate wiring. You’ll typically run a 240-volt line from the transfer switch to the electrical panel, where it will connect to specific circuits you want powered by the generator.
Install an outlet box for the generator’s cord to plug into. This should be located outside your home in an easily accessible spot.
Wire the outlet box to the transfer switch using the appropriate gauge wire. The outlet will allow you to connect your generator to the home’s electrical system.
Step 3: Generator Cord and Outlet Installation
The generator cord connects the generator to the outlet box, which is wired into the transfer switch. Choose a cord that matches the amperage of your generator. Common cord sizes include 30-amp and 50-amp cables, but your specific generator will dictate the necessary cord size.
The outlet box should be installed outside your home, typically near the location where the generator will be placed. When selecting the location for the outlet, ensure it’s protected from the elements and easily accessible for plugging in the generator.
Step 4: Testing and Maintenance
Once the transfer switch, outlet box, and wiring are all installed, it’s time to test the system:
Check all connections to ensure everything is secure and correctly wired.
Start the generator and switch the transfer switch to the “generator” position.
Test the circuits that are connected to the generator to ensure they are receiving power.
Perform regular maintenance on both your generator and transfer switch to ensure they operate smoothly during an outage.
It’s recommended to test your generator every few months to ensure it’s in working order, even if you don’t need it right away.
Conclusion
Wiring your home for a generator is a critical step in ensuring your home remains powered during an outage. While the process requires technical knowledge and careful attention to safety, it is a manageable DIY project for many homeowners with basic electrical skills. For those who are uncertain about any aspect of the installation, it’s always best to consult a licensed electrician.
By following these steps and using the appropriate components, you can safely and efficiently wire your home to handle power outages, keeping your family comfortable and your essential appliances running smoothly, no matter the weather.

