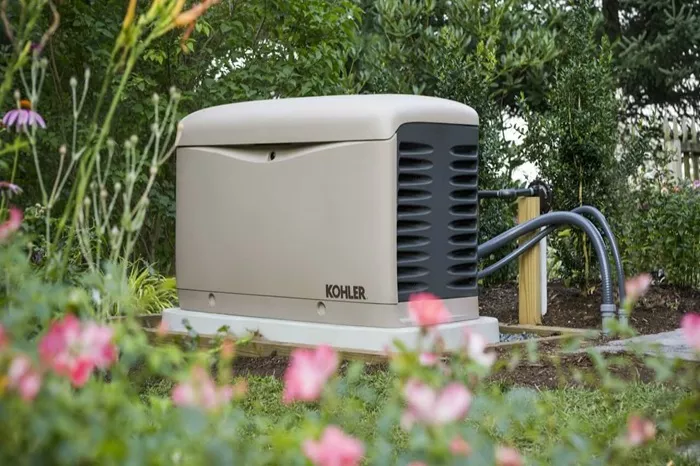
A home generator transfer switch is a critical component for safely connecting a backup generator to your home’s electrical system. It ensures that power from the generator does not backfeed into the utility lines, protecting utility workers and your home from electrical hazards. Proper wiring is essential for safe and reliable operation.
This guide provides a step-by-step process for wiring a transfer switch, along with essential electrical concepts to help you understand the installation.
Understanding Transfer Switches
What Is a Transfer Switch
A transfer switch is an electrical device that switches the power source from the utility grid to a backup generator. It prevents both power sources from being connected simultaneously, which can cause dangerous backfeeding.
Types of Transfer Switches
Manual Transfer Switch (MTS): Requires manual operation to switch between power sources.
Automatic Transfer Switch (ATS): Detects a power outage and switches to the generator automatically.
For most home installations, a manual transfer switch is sufficient and more cost-effective.
Safety Precautions Before Wiring
Working with electricity is dangerous. Follow these safety measures:
- Turn off the main circuit breaker before starting.
- Use insulated tools and wear rubber-soled shoes.
- Verify that the generator is off before connecting wires.
- Follow local electrical codes and obtain permits if required.
Tools and Materials Needed
Before wiring, gather the following:
- Transfer switch (rated for your generator’s wattage)
- Screwdrivers (flathead and Phillips)
- Wire strippers and crimping tool
- Electrical tape and wire nuts
- Voltage tester
- Conduit and fittings (if required)
- Appropriate gauge wires (check the generator’s manual for sizing)
Step-by-Step Wiring Process
Choose the Right Location
Install the transfer switch near the main electrical panel for easy access. Ensure it is:
- Protected from moisture and extreme temperatures.
- Mounted securely on a wall or panel.
Turn Off the Main Power
Shut off the main breaker and verify with a voltage tester that no current is present.
Install the Transfer Switch
- Mount the switch using screws and anchors.
- Run conduit (if required) from the generator inlet box to the transfer switch.
Connect the Generator
- Run a heavy-duty power cord from the generator to the transfer switch inlet.
- Ensure proper grounding to prevent electrical shocks.
Test the System
- Start the generator and let it stabilize.
- Flip the transfer switch to the generator position.
- Verify that power is supplied to the selected circuits.
- Switch back to utility power and shut down the generator properly.
Common Wiring Mistakes to Avoid
Incorrect Wire Sizing: Using undersized wires can cause overheating.
Poor Grounding: Improper grounding increases shock risks.
Backfeeding: Never plug a generator directly into an outlet without a transfer switch.
Ignoring Local Codes: Always follow NEC (National Electrical Code) and local regulations.
When to Hire a Professional
If you are unsure about any step, consult a licensed electrician. Complex installations (such as ATS setups or whole-house generators) should always be handled by professionals.
Conclusion
Wiring a home generator transfer switch requires careful planning and adherence to safety standards. By following this guide, you can ensure a reliable backup power system that operates safely during outages. Always prioritize safety and compliance with electrical codes. For more complex installations, consider hiring a professional electrician to guarantee a secure and code-compliant setup.
This guide provides a clear, step-by-step approach to wiring a transfer switch while incorporating essential electrical knowledge. The content is structured for readability and optimized for search engines while maintaining originality.

